Overleaf has become an essential tool for my academic work, allowing collaboration with my team and giving the ability for me to work on manuscripts on any computer without the need for extra tools. While the tooling has a large feature set and is reliable - even around major conference deadlines, it's important for me to ensure that work is backed up, safe and accessible.
In this post, I'll go through how I back up my work using the Git integration in Overleaf. Every change I make to a document is saved as a commit which I can use to recover my work from any point in time in its creation. Overleaf does have a GitHub sync which requires a manual push and will not automatically track changes. Also, this will not sync to providers of other Git repositories like GitLab. This method is both automatic and will work for any Git provider.
The key to this pipeline is running a continuous integration server that can poll my documents for changes and run some simple scripts to push them to GitHub at a regular interval. There are quite a few options here and I ended up using Jenkins for this. Jenkins supports build pipelines that can poll lots of different Git repositories for changes and only run the build pipeline on change.
Installing Jenkins
Installing Jenkins can take a bit of time depending on the operating system and environment you're running. But the simplest approach is to use the Docker container they release: all dependencies and environment is wrapped up into a lightweight virtual machine that makes deployment easy.
# pull the stable LTS version of jenkins
docker pull jenkins/jenkins:lts

# on first run make a directory for the directory and create a named docker instance with port 8080 mapped and the data directory mounted
mkdir jenkins_data
docker run -d --name jenkins -p 8080:8080 -v $(pwd)/jenkins_data:/var/jenkins_home jenkins/jenkins:lts

# to restart the named instance
docker start jenkinsOnce the container is running, you can navigate to http://localhost:8080 in your web browser to configure and set up the server. You'll be asked for the admin password which will be saved in the jenkins_data folder you mount. For my setup, I just installed the default plugins.
Setting up credentials
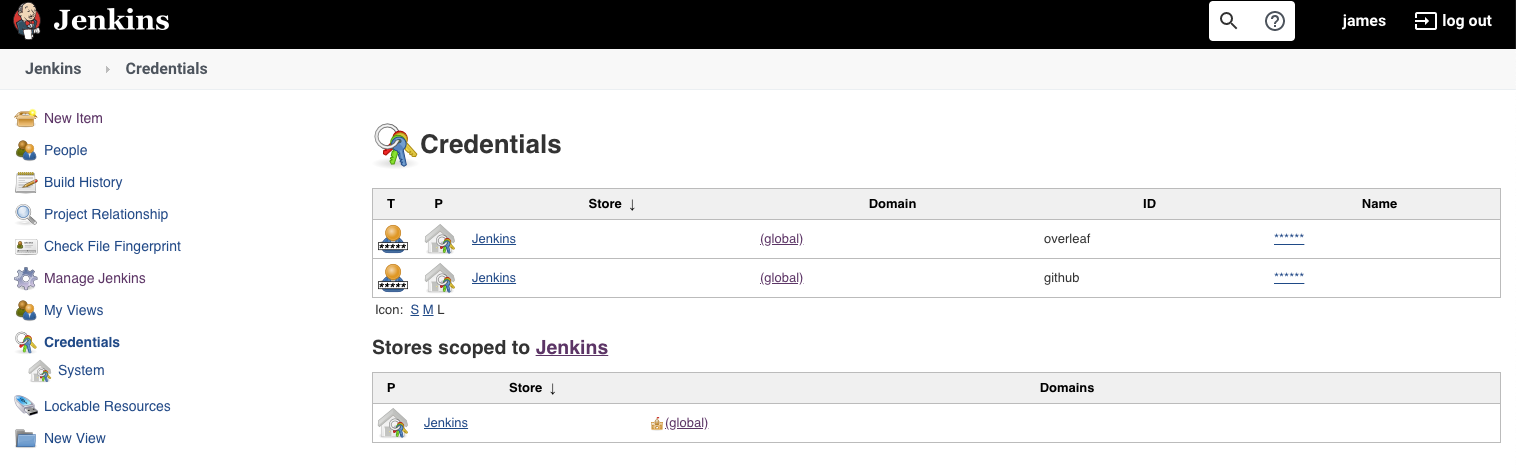
Jenkins has a credential management system to safely store passwords and data for repositories - GitHub supports both HTTPS and SSH based authentication whereas Jenkins only supports HTTPS.
Both credentials for Overleaf and GitHub must be stored within Jenkins. Adding these is self-explanatory and the data can be directly entered into the web form. Credentials can be added by clicking the global scope and then following instructions to add the credentials.
If you plan on using Jenkins for multiple projects, I'd recommend setting up scopes specific for each project.
Source repositories
In Overleaf, Git integration was a default feature in v1 that was ported to v2. Users of v1 have Git integration in v2 with free accounts. For new users on v2, you may need a paid account.
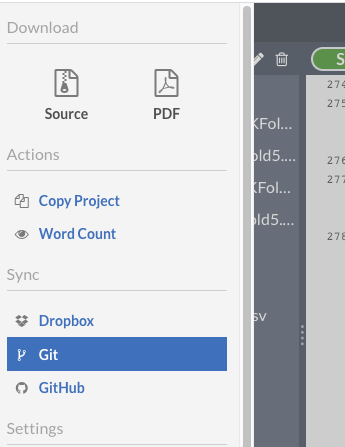
The Git repo link can be found in the document menu in the Overleaf editor. Make a note of this!
Target repository
I have a large number of papers on Overleaf that I sync to a single project on GitHub. I created a new repository to start with.
Putting it all together
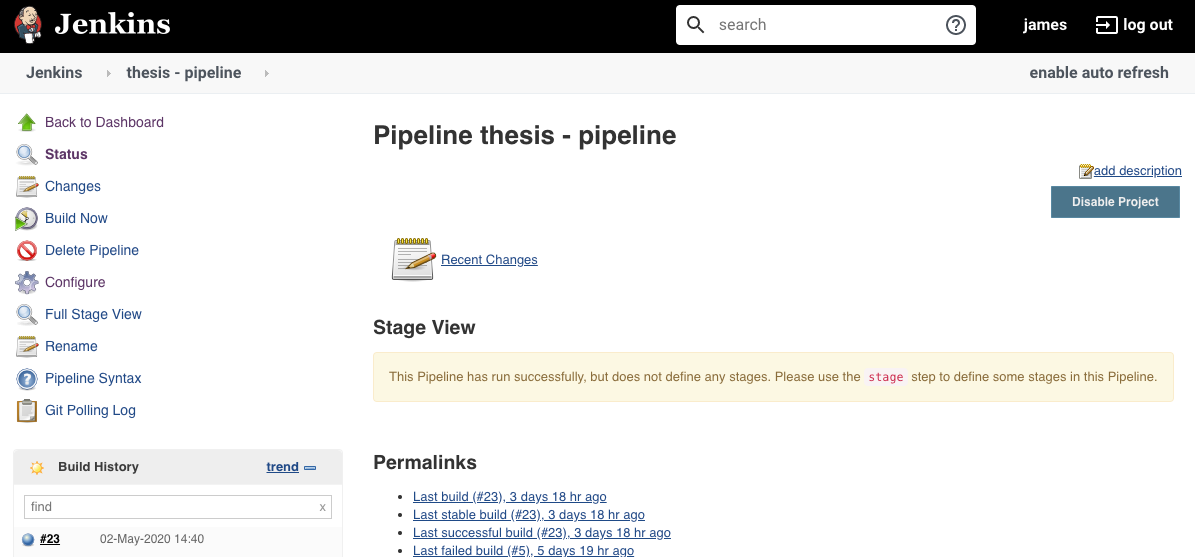
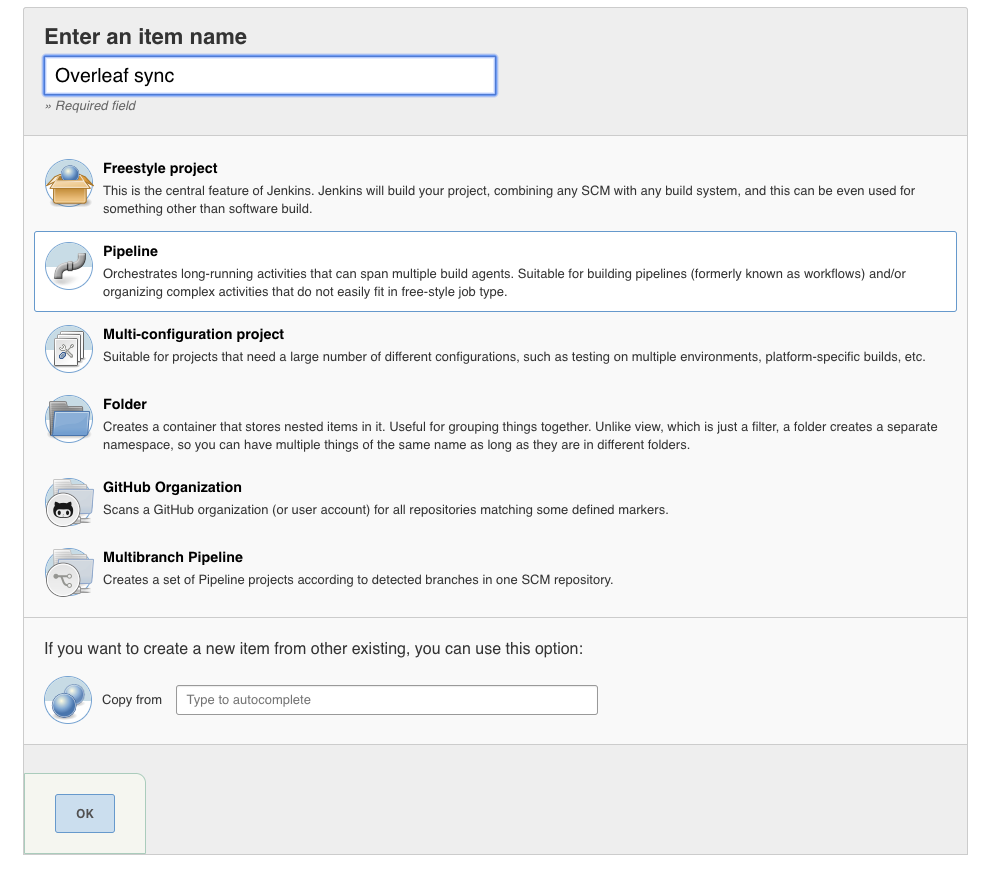
Now that all the credentials and repositories are ready, create a new "item" in Jenkins. We'll use a pipeline project.
Build Triggers
For build triggers, we want to poll the overleaf repositories at a regular interval. You can enter a time here in crontab style: */10 * * * * will poll every 10 minutes.
Pipeline Script
The pipeline script consists of 4 parts: configure git, pull the overleaf docs, merge the changes and push to GitHub. These all are nested in a node { } object.
Git is configured with 2 shell commands, just like you would do on your own computer:
    sh("git config --global user.email 'my@email.com'")
    sh("git config --global user.name 'James Thorne'")
Pulling data from Overleaf is easy with the following directives which will pull data from 2 different overleaf documents into the thesis and paper directories using the overleaf credentials we made earlier. The credentialsId has to correspond to what you named the credentials.
    dir("thesis") {
        git (url: "https://git.overleaf.com/12345",
        credentialsId: "overleaf")
    }
    dir("paper") {
        git (url: "https://git.overleaf.com/67890",
        credentialsId: "overleaf")
    }
To merge the data into our GitHub repo, we first need to check it out. Again, the credentials ID must match. We're checking out to the folder called github
    dir("github") {
        git (url: "https://github.com/j6mes/overleaf_backup.git",
        credentialsId: 'github')
    }
Then we'll remove the .git folders from the overleaf docs we're merging in to prevent corruption of the Git repository before copying them into the Github folder.
    # Remove git information from thesis and paper overleaf git repos
    sh("rm -rf thesis/.git")
    sh("rm -rf paper/.git")

    # Remove thesis and paper from the github repo
    sh("rm -rf github/thesis")
    sh("rm -rf github/paper")

    # Copy in updated versions
    sh("cp -r thesis github/")
    sh("cp -r paper github/")
Now we're ready to push everything back up to GitHub
    dir("thesis") {
        withCredentials([usernamePassword(credentialsId: 'github', passwordVariable: 'GIT_PASSWORD', usernameVariable: 'GIT_USERNAME')]) {
        sh("ls")

        sh("git add *")
        sh("git commit -am 'Auto commit from Overleaf' | true")
        sh("git push https://${GIT_USERNAME}:${GIT_PASSWORD}@github.com/j6mes/overleaf_backup master | true")
        }
    }
It's quite easy to add extra papers and Overleaf documents as you go on, and any changes will be uploaded to GitHub.
That's it - happy writing!